How to Choose a Spotting Scope for Western Big-Game Hunting
A spotting scope can reveal details that binoculars cannot, but magnification is only part of the decision. The useful system includes the scope, tripod, head, protective cover, carrying method, and the time required to set it up.
This research-based guide explains how to match magnification, objective size, eyepiece design, optical quality, and support equipment to a western elk or mule deer hunt. Big Game Ledger has not field-tested every model discussed by manufacturers; the guidance below separates published specifications from practical buying decisions.
The short answer
For a backpack hunt, a compact scope in roughly the 15–45x class with a 60–65mm objective often offers a useful balance of detail, weight, and tripod requirements. A larger 20–60x scope with an 80–85mm objective can provide a brighter image and more resolving potential, especially near the edges of daylight, but the complete system is substantially heavier. Optical clarity and a stable tripod usually matter more than the highest magnification printed on the scope.
Three researched spotting-scope paths
These models represent three different system decisions rather than a universal ranking. Big Game Ledger has not field-tested them. The linked profiles separate manufacturer specifications, independent testing and owner-discussion themes so you can match the scope to the hunt.
Affiliate disclosure: Big Game Ledger may earn a commission from qualifying purchases made through the Amazon links below, at no additional cost to you.
| Model | Research use case | Configuration | Published weight |
|---|---|---|---|
| Vortex Razor HD | Compact premium/backcountry | 13-39×56 angled | 28.6 oz |
| Leupold SX-4 Pro Guide HD Gen 2 | Mid-size general-purpose | 15-45×65 angled | 62 oz |
| Athlon Cronus G2 UHD | Full-size value-oriented glassing | 20-60×86 angled | 73.5 oz |
Vortex Razor HD 13-39×56: compact premium path
The Vortex has the lowest published weight in this set and the lowest maximum magnification. Independent testing gives it a strong compact low-light case, while the removable-eyepiece attachment and 39x ceiling remain important tradeoffs. Confirm 13-39×56 angled and SKU RS-56A.
Read the Vortex research profile · View the Vortex Razor HD 13–39×56 angled on Amazon (affiliate link)
Leupold SX-4 Pro Guide HD Gen 2 15-45×65: mid-size path
The Leupold sits between the compact Vortex and full-size Athlon in objective size and maximum magnification. It suits hunters who can carry a roughly four-pound scope and want a general-purpose 45x option. Listing caution: On September 8, 2026, Amazon’s selected options read Angled (185681) and 15-45x65mm, but an overview bullet still showed part 185679. Ask the seller to confirm that the supplied item is part 185681, Gen 2 15-45×65 angled before ordering. The selected variation alone does not resolve the conflict.
Read the Leupold research profile · View the Leupold SX-4 Pro Guide HD Gen 2 15–45×65 angled on Amazon (affiliate link)
Athlon Cronus G2 UHD 20-60×86: full-size path
The Athlon provides the largest objective and highest maximum magnification in this set, but it also has the highest published weight. Independent testing supports its full-size value case while identifying image decline at higher power. Confirm model 311004; do not confuse it with the newer 311006 dual-focus configuration.
Read the Athlon research profile · View the Athlon Cronus G2 UHD 20–60×86 angled on Amazon (affiliate link)
Amazon sellers, configurations and availability can change. Verify the exact model and current listing details before ordering.
First decide whether the hunt needs a spotting scope
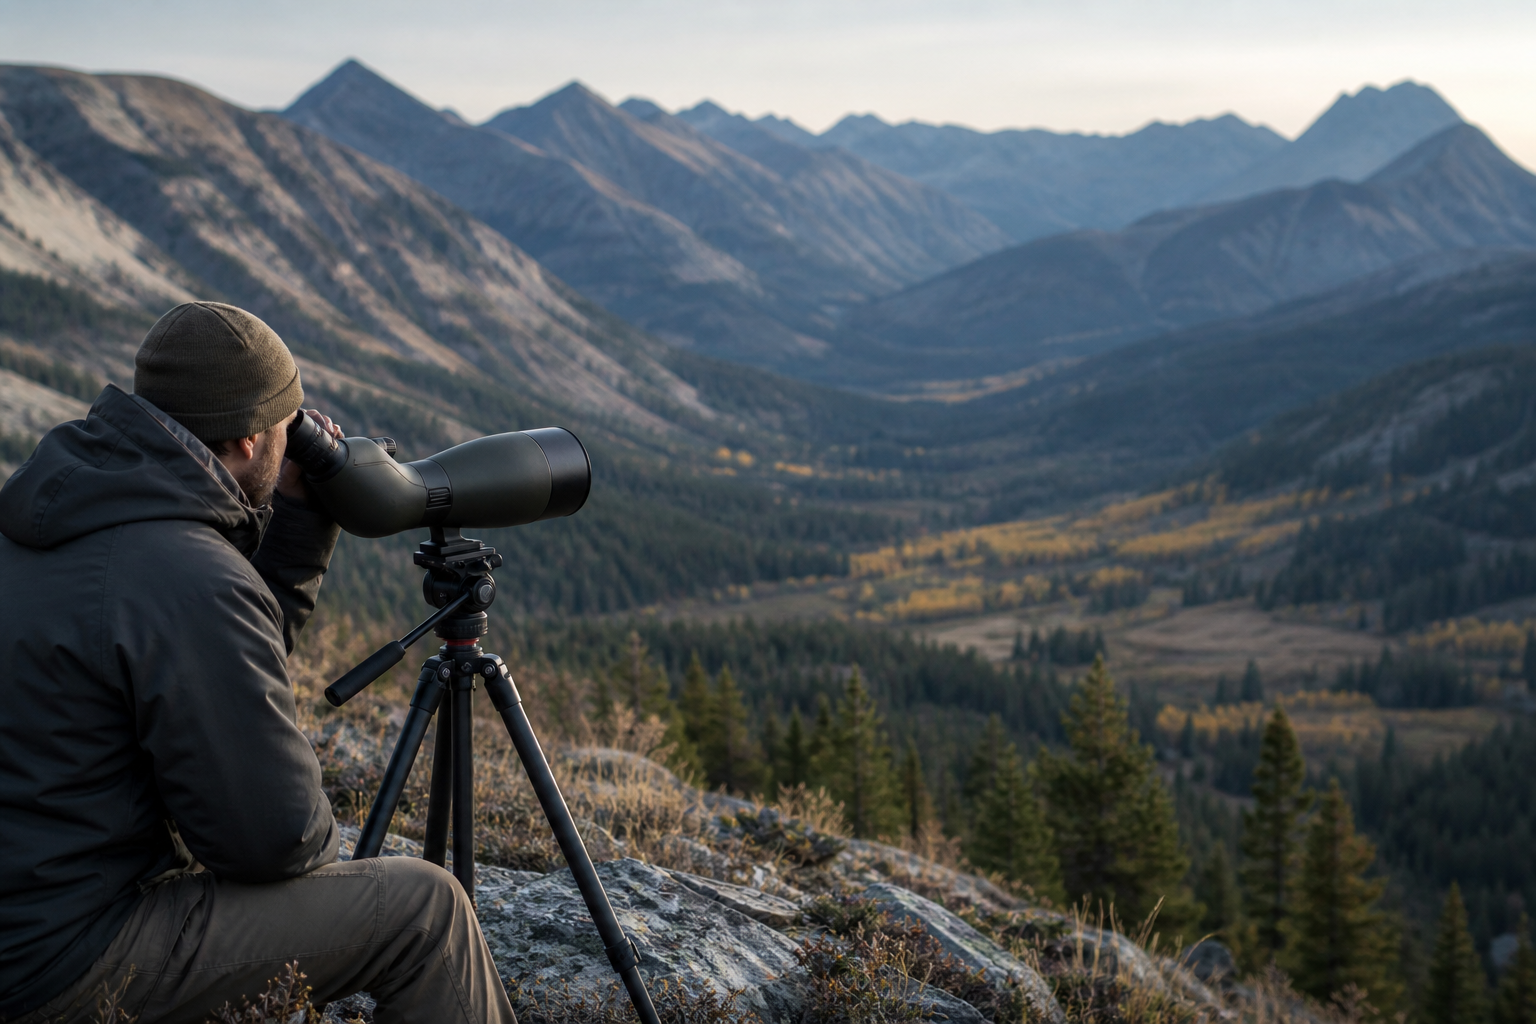
A spotting scope is most useful when you need to evaluate distant animals, confirm antler details, study an approach route, or watch open country without closing the distance. It may be unnecessary in thick timber, short sightlines, or a highly mobile hunt where binoculars do most of the work. Before adding several pounds, define the job the spotter must perform.
- Strong use case: open basins, long ridgelines, alpine country, trophy evaluation, and extended glassing from a fixed point.
- Weak use case: dense cover, frequent relocation, limited setup time, or a hunt where the scope rarely leaves the pack.
- Shared system: partners may divide the scope, tripod, and other group equipment to control individual pack weight.
1. Match magnification to usable image quality
A 15–45x or 20–60x label describes the zoom range, not the amount of detail the scope will always deliver. Heat shimmer, haze, wind, low light, vibration, and optical quality can make the highest setting less useful. Start at low magnification to gain a wider field of view, locate the subject, and stabilize the image. Swarovski’s official spotting-scope guidance recommends beginning at low magnification and zooming in only after locating the target.
When comparing scopes, evaluate detail at the magnifications you will actually use. A clear, stable image at 30x may reveal more than a dim or vibrating image at 60x.
2. Choose the objective size as a system decision
The objective diameter is the second number in a specification such as 15–45×65. Larger objectives can support a brighter image and greater resolution, but they add bulk, weight, and leverage on the tripod. Leupold’s official guide groups compact 40–50mm objectives as packable options, 60–65mm objectives as a balance of light transmission and weight, and 80–85mm objectives as higher-performing choices for distant detail and low light.
| Objective class | Typical strength | Main tradeoff |
|---|---|---|
| 50–56mm compact | Low bulk for highly mobile hunts | Smaller exit pupil and less low-light margin at higher power |
| 60–65mm midsize | Backpack-friendly balance for many western hunts | Less light-gathering potential than a large objective |
| 80–85mm large | Long sessions, distant detail, and better low-light potential | Heavier scope, tripod, head, and carrying system |
3. Understand exit pupil, field of view, and eye relief
Exit pupil is objective diameter divided by magnification. Kowa’s technical guidance uses that same relationship. As magnification rises, the exit pupil becomes smaller, making precise eye placement more important and reducing the light delivered to the eye. Field of view also generally narrows as power increases, which makes finding and following an animal more difficult.
- Field of view: Wider is easier for locating animals and scanning terrain.
- Eye relief: Especially important for eyeglass wearers and long sessions.
- Eyebox: A forgiving viewing position reduces frustration when sharing the scope.
- Close focus: Usually secondary for western hunting, but relevant for wildlife observation and photography.
4. Angled versus straight eyepiece
An angled scope can be comfortable for long seated sessions, uphill viewing, and sharing among people of different heights because the tripod can stay lower. A straight scope can be faster to point along the line of sight, easier for some hunters to acquire a subject with, and convenient for viewing from a vehicle or glassing downhill. Leupold’s guide describes these same practical differences, while Swarovski notes that a slightly downward viewing posture can reduce neck strain.
Neither design is automatically better. Try both from seated, standing, kneeling, and downhill positions. Include the pack and tripod you intend to use.
5. Optical quality matters beyond an “HD” label
Manufacturer labels do not create a universal grading system. Compare scopes side by side for resolution, contrast, color fringing, edge sharpness, glare control, focus snap, and image quality across the zoom range. Test fine detail in shade and against bright backlight. If possible, compare during the first and last usable light rather than under store lighting alone.
6. The tripod and head are part of the optic
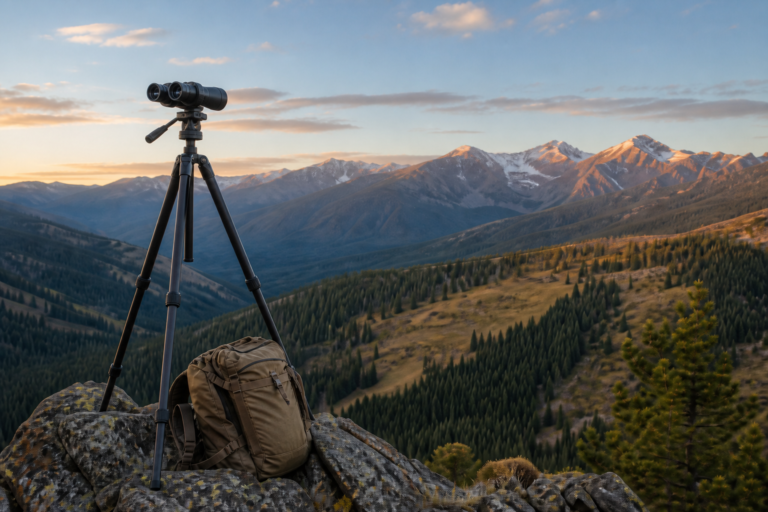
High magnification exposes every vibration. Swarovski recommends stable support, and Vortex describes a tripod with a smooth pan head as a way to reduce fatigue and methodically cover country. The tripod must safely support the combined scope and head, remain steady at the intended viewing height, and pack to a usable length.
- Compare total system weight, not scope weight alone.
- Check the tripod’s rated load and stability with the center column extended.
- Use a head that pans smoothly without dropping when released.
- Confirm the mounting plate or Arca-style interface fits the scope.
- Test leg locks, gloves, wind, uneven ground, and seated height.
7. Focus controls, weather protection, and field handling
A coarse-and-fine focus system can speed large adjustments while allowing precise final focus. A single focus ring may be simpler with gloves. Check whether the zoom ring moves smoothly, the rotating collar locks securely, the sunshade deploys easily, and the eyecup works with or without glasses.
Read the manufacturer’s exact waterproof, fogproof, operating-temperature, and warranty language. Protective armor, lens coatings, caps, and a fitted cover help, but they do not replace careful handling. Pack the scope where it is protected from impact and accessible enough that it will actually be used.
8. Digiscoping should be a secondary decision
A phone adapter can document animals, share a view, and help review identification details. Compatibility varies among eyepieces, cases, and cameras. Confirm the adapter can center the phone lens, remain secure, and be attached without disturbing the tripod. Do not sacrifice core optical performance or pack efficiency for a feature you may rarely use.
A practical buying checklist
- Define the exact job: locating animals, judging details, planning routes, or digiscoping.
- Decide whether the hunt justifies the complete system weight.
- Choose compact, midsize, or large objective class.
- Compare usable detail at moderate power before maximum magnification.
- Test angled and straight eyepieces from real field positions.
- Check field of view, eye relief, focus controls, and glare.
- Add tripod, head, plate, cover, and adapter weights.
- Verify weather protection and warranty terms.
- Confirm the scope fits the intended pack and remains accessible.
- Practice locating targets at low power before zooming in.
Build the complete optics system
A spotting scope complements rather than replaces hunting binoculars. Pair both with a hunting rangefinder and decide how the full optics kit fits inside your hunting backpack. The western big-game gear checklist helps place optics alongside shelter, water, navigation, safety, and meat-care equipment.
Research sources
- Leupold: How to choose a spotting scope
- Swarovski Optik: Spotting-scope setup and viewing technique
- Kowa: Technical optics definitions
- Vortex Optics: Choosing a hunting tripod
Optics can assist observation and planning, but they do not determine whether an animal is legal or whether a shot is safe or ethical. Confirm current regulations with the responsible wildlife agency and stay within demonstrated field capability.
Continue building the optics system
Return to the Big Game Ledger gear hub, choose stable support with the hunting-tripod guide, and compare lower-weight glass in the hunting-binocular guide.