How to Choose a Hunting Tripod for Western Big Game
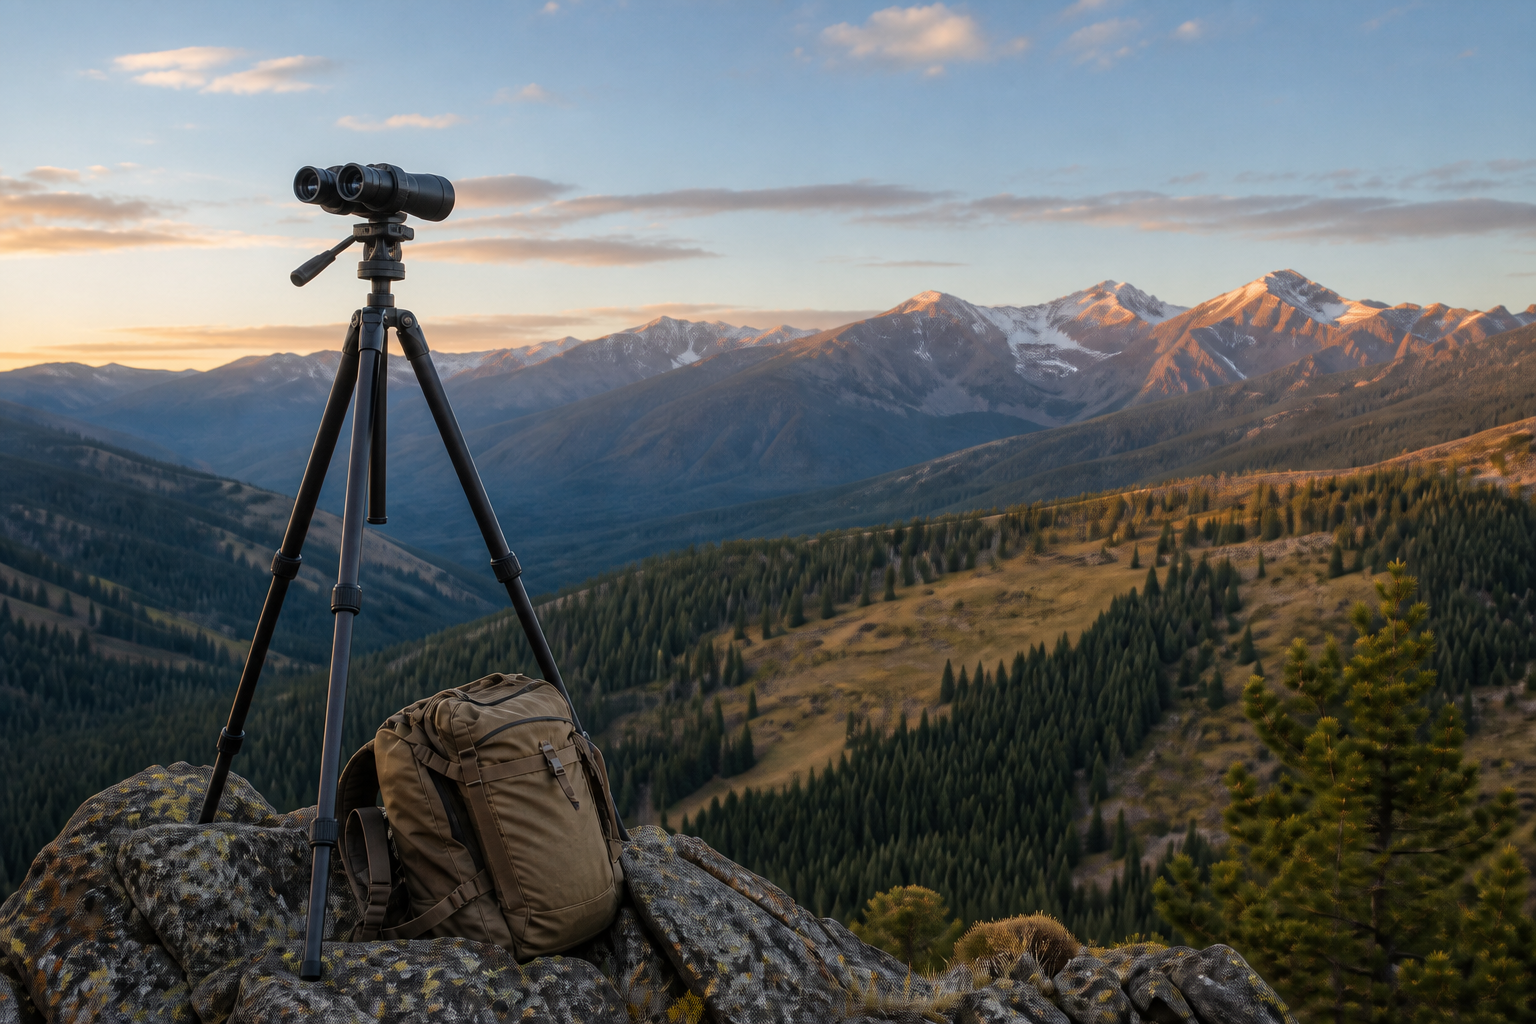
A hunting tripod is not just a set of legs. Its useful performance comes from the complete system: legs, head, mounting plate, adapters, optics, carrying method, and the field positions in which you will use it.
This research-based guide explains how to choose a tripod for western glassing with binoculars or a spotting scope. It uses published manufacturer information and system-level planning rather than claiming hands-on testing of every product.
The short answer
For most mobile western hunters, the best tripod is the lightest complete setup that remains stable at the required viewing height with the heaviest optic they will carry. Seated glassing usually allows a shorter, lighter tripod. Standing glassing demands more height and stiffness. A smooth pan head is often the simplest choice for methodical observation, while a ball head can add versatility when the tripod must support more than optics.
Three researched hunting-tripod paths
These models represent three different optics-support decisions rather than a universal ranking. Big Game Ledger has not field-tested them. The linked profiles separate manufacturer specifications, attributed independent testing, and public owner-discussion themes so you can match the tripod to the optic, viewing height, and hunt style.
Affiliate disclosure: Big Game Ledger may earn a commission from qualifying purchases made through the Amazon links below, at no additional cost to you.
| Model | Research use case | Published weight | Maximum height |
|---|---|---|---|
| Leupold Alpine CF-425 | Lightweight backcountry glassing | 2.0 lb | 58 in |
| Vortex Ridgeview Carbon | Tall support for full-size optics | 3.2 lb | 73.8 in |
| Meopta Carbon Tripod Kit | Complete value-oriented optics kit | 1.8 kg (about 4.0 lb) | 178 cm (about 70 in) |
Leupold Alpine CF-425: lightweight backcountry path
The Leupold has the lowest published weight and shortest maximum height in this set. Its two-pound build and 18.5-inch folded length favor seated binocular glassing and compact-to-mid-size spotting scopes. Independent testing identified it as too small for full-size spotters. Confirm Alpine CF-425 Tripod Kit and part 180380.
Read the Leupold research profile · View the Leupold Alpine CF-425 tripod kit on Amazon (affiliate link)
Vortex Ridgeview Carbon: tall full-size-optics path
The Vortex combines a 3.2-pound published weight with a 73.8-inch maximum height and a two-way pan head. Independent testing supported its use with a full-size spotting scope while warning that stability declines at its highest extension. Confirm model TR-RVC, and plan to keep the center column and thinnest leg sections lower when wind or magnification exposes vibration.
Read the Vortex research profile · View the Vortex Ridgeview Carbon tripod kit on Amazon (affiliate link)
Meopta Carbon Tripod Kit: complete-kit path
The Meopta packages carbon legs, ball and fluid heads, four plates, a smartphone adapter, and a padded case. That makes it the most complete optics-support package in this set, but Meopta’s cited 2025 catalog does not publish a payload rating. Confirm model 653525 and verify the payload directly with Meopta before pairing it with a heavy spotting scope.
Read the Meopta research profile · View the Meopta Carbon Tripod Kit on Amazon (affiliate link)
Amazon sellers, configurations, and availability can change. Verify the exact model, included components, and current listing details before ordering.
Start by defining the tripod’s jobs
A tripod built only for compact binoculars can be lighter than one supporting a large spotting scope. A system intended for both glassing and an appropriately rated shooting support requires different load capacity, hardware, training, and risk management. Do not buy by material or maximum height alone.
- Binocular glassing: prioritize smooth panning, low weight, and fast setup.
- Spotting scope: prioritize stiffness, head control, and resistance to wind-induced vibration.
- Standing observation: prioritize usable height without relying heavily on the center column.
- Backcountry travel: prioritize total weight, folded length, and attachment to the pack.
- Multi-use support: verify every load, clamp, plate, and head is rated for the intended use.
1. Compare usable height, not the largest number
Maximum height may include a fully extended center column. That position can be less stable than extending the leg sections. Compare maximum height with the center column down, minimum height, and the height of the head and optic. Your eye height while seated or standing determines what is actually required.
Test the tripod from the positions you will use: seated on the ground, kneeling, sitting on a pad or stool, standing on level ground, and standing downhill. An angled spotting scope can sometimes allow a lower tripod than a straight scope.
2. Treat load capacity as a starting point
A published payload number indicates what the manufacturer rates the tripod or head to support. It does not guarantee that the view will remain vibration-free in wind or at maximum extension. Long optics create leverage, and a large spotting scope can challenge a lightweight head even when the listed weight falls below the maximum.
Calculate the combined weight of the optic, adapter, plate, phone mount, and any accessories. Then test how quickly vibration settles after focusing, panning, or touching the eyepiece.
3. Balance tripod weight against the optic
| Hunt style | Tripod priority | Likely compromise |
|---|---|---|
| High-mileage backpack hunt | Low weight and short folded length | Less standing height or wind stability |
| Mixed backpack and vehicle use | Midsize legs and adaptable head | Heavier than a dedicated seated system |
| Long stationary glassing | Stiffness, height, and smooth control | More weight and bulk |
| Large spotting scope | Strong legs, head, and mounting interface | Complete system becomes substantially heavier |
Vortex’s official hunting-tripod guide separates lightweight backcountry models from taller observation tripods and heavier multi-use platforms. That is the useful framework: match construction and dimensions to the job rather than assuming one configuration is universally best.
4. Carbon fiber versus aluminum
Carbon-fiber legs can reduce weight and damp some vibration, but quality, tube diameter, joint design, and leg-lock construction still matter. Aluminum is often less expensive and can be durable, but it may weigh more and feel colder in low temperatures. Compare actual system weight and stiffness rather than treating the material name as a performance guarantee.
5. Leg sections, tube diameter, and center columns
More leg sections generally allow a shorter folded length, but they also add locks and smaller lower tubes. Fewer, larger sections can be faster to deploy and may feel stiffer. A center column adds convenient height, yet extending it raises the optic above the tripod’s widest support structure.
- Use the thickest leg sections first.
- Extend the center column only as much as needed.
- Spread the legs wider and lower the system in wind.
- Avoid placing the tripod where a leg can slip from loose rock.
- Confirm independent leg angles work on steep ground.
6. Choose the right head
Pan head
A pan head separates horizontal and vertical movement, making it well suited to controlled glassing patterns. Vortex recommends a pan head for methodically covering country and reducing fatigue. Look for smooth resistance, secure locks, and a handle that works from either side if needed.
Ball head
A ball head moves quickly in multiple directions and packs compactly. Tension control and an independent pan lock can make it more manageable. A loose ball head can allow a heavy optic to drop abruptly, so set friction before releasing the main lock.
Fluid or video-style head
A fluid head can provide controlled pan and tilt movement. Manfrotto describes fluid cartridges, drag adjustment, quick-release plates, and balance systems as ways to produce smooth, controlled movement. These heads can be effective for large optics and digiscoping but may add more weight than a simple hunting pan head.
7. Standardize the mounting system
Confirm the head, plate, binocular adapter, and spotting-scope foot are compatible. Arca-style dovetails are common, but dimensions, safety stops, and clamp designs can still vary. A quick-release plate should lock securely without twisting and should not interfere with the optic’s focus controls or rotating collar.
If multiple optics share the tripod, give each a dedicated plate and practice changing them without removing gloves. Check every fastener before the trip and carry only the tools required for the system.
8. Choose leg locks you can operate in weather
Twist locks can create a narrow profile and allow multiple sections to loosen with one hand. Flip locks provide a visible open-or-closed position and may be easier for some users with gloves. Both can work. Test them with cold hands, dirt, precipitation, and the exact deployment sequence you expect to use.
9. Packability includes more than folded length
Measure the tripod with the head attached. Check whether it rides inside the pack, in a side pocket, or under compression straps without striking vegetation or shifting the load. A tripod carried securely and reached quickly is more useful than a lighter one buried beneath the rest of the gear.
A field test before relying on the tripod
- Mount the heaviest optic and every intended adapter.
- Set up at seated and standing height on uneven ground.
- Pan across a distant slope and test fine vertical adjustments.
- Time how long vibration takes to settle after touching the focus control.
- Test in wind without leaving the tripod unattended.
- Operate every lock with gloves.
- Change between binoculars and spotting scope.
- Carry the complete system on the intended backpack.
- Inspect fasteners, feet, plates, and locks after use.
- Repeat the setup until it can be done without guesswork.
Build the complete glassing system
The tripod should be selected alongside the optic. Start with our guides to hunting binoculars and spotting scopes. Add the tripod and adapters to the western big-game gear checklist, confirm everything fits the hunting backpack, and keep the rangefinder accessible.
Research sources
- Vortex Optics: How to choose a tripod for hunting and shooting
- Vortex Optics: Tripod-supported glassing technique
- Vortex Optics: Tripod controls and mounting manual
- Manfrotto: Fluid-head movement and mounting
- Swarovski Optik: Stable support for spotting scopes
Use every tripod, head, clamp, and adapter only within the manufacturer’s instructions and rated purpose. If a tripod will support a firearm, obtain qualified instruction and follow all applicable safety rules.
Continue building the optics system
Return to the Big Game Ledger gear hub, pair the support with the spotting-scope guide, and compare a lighter setup in the hunting-binocular guide.