Western Big-Game Hunting Gear Checklist: Build the System Before You Buy
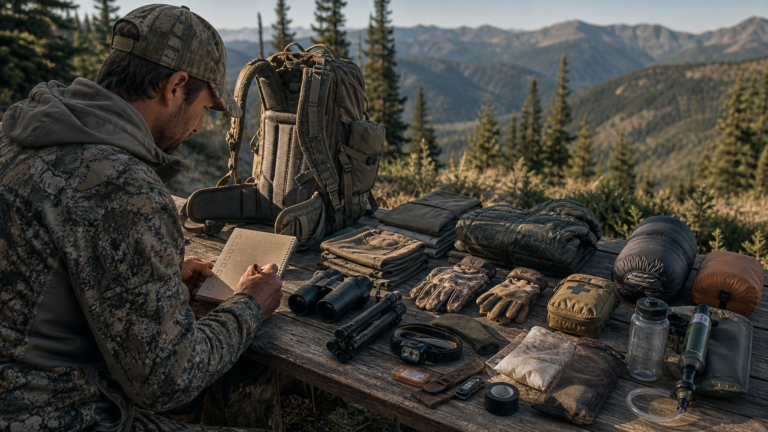
A western hunt can expose every weak link in a gear system. This checklist organizes the essentials by job—carry, move, navigate, glass, shelter, hydrate, recover meat and respond to trouble—so you can spend deliberately instead of collecting disconnected products.
How this guide was built
Big Game Ledger has not field-tested every item discussed here. This is an independent planning framework assembled from public-land safety guidance, wildlife-agency rules and recurring practices described by experienced hunters and backcountry educators. Product-specific conclusions will be labeled as hands-on, manufacturer-supplied or research-based when those guides are published.
Start with the hunt, not the shopping list
The same checklist should not be copied unchanged for every hunt. A truck-supported day hunt, a horse-supported camp and a five-day backpack hunt impose different weight, capacity and redundancy requirements. Before buying anything, define the hunt on one page:
- Species and season: elk in September heat and mule deer in late-season snow create different clothing and meat-care problems.
- Access: road, trailhead, horseback, boat or aircraft.
- Daily range and elevation: include the climb, not just map distance.
- Trip format: day hunt, spike camp, backpack camp or base camp.
- Expected weather: use historic ranges, then plan for a realistic cold, wet and windy failure case.
- Recovery plan: number of people, distance to the vehicle, cooling conditions and local carcass-transport rules.
Those inputs decide what belongs in the pack. They also reveal which items are safety-critical and which are optional conveniences.
For a repeatable way to turn those hunt conditions into equipment decisions, use the big-game hunting gear-list framework to organize gear by function, rate failure consequences, weigh the complete system and run realistic shakedown tests.
1. Pack and load-carrying system
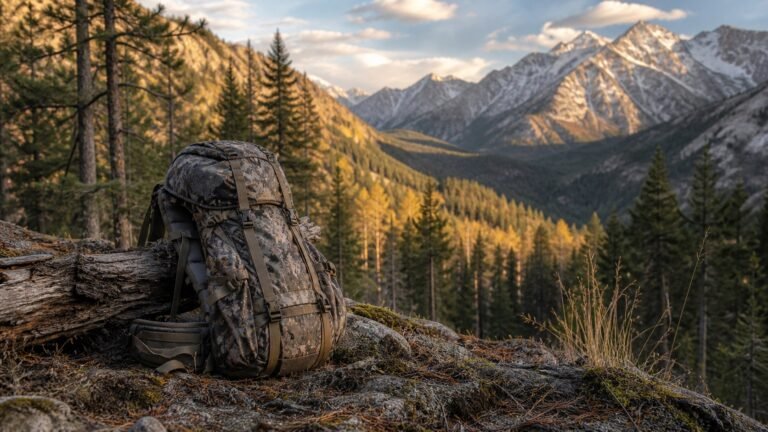
A hunting pack must carry the day’s equipment comfortably and, if harvest is possible, participate in the recovery plan. Capacity alone is a poor comparison. Evaluate torso fit, hip-belt contact, frame stability, access to frequently used gear, compression when lightly loaded and the way the pack behaves under a realistic heavy load.
- Pack sized for the actual trip format
- Rain cover or waterproof internal liners
- Dry bags or labeled stuff sacks
- Haul configuration appropriate for meat, where legal and practical
- Small repair kit: buckles, cord, tape and needle/thread suited to your equipment
Load the pack with water and dense training weight before the hunt. Adjust it on a climb and descent. A pack that feels fine for ten minutes in a store may create hot spots after two hours.
Compare fit, capacity and complete pack configurations in our hunting backpack buying guide before narrowing the shortlist.
2. Boots, socks and foot care
Boot choice begins with terrain, weather, carried weight and individual fit. Stiffness can help under load and on sidehills, while excessive stiffness can punish a hunter whose feet are not conditioned for it. Waterproof membranes can help in wet conditions but do not eliminate the need to manage sweat and dry socks.
Use the dedicated hunting boots guide to compare fit, stiffness, insulation, waterproofing, socks and a progressive weighted test plan.
- Broken-in boots matched to terrain and load
- Tested sock and liner combination
- Spare dry socks
- Blister tape, dressings and a plan to treat hot spots early
- Optional gaiters for snow, mud, scree or wet vegetation
3. Clothing as a moisture-management system
Think in layers that can be changed while moving, glassing and sitting through weather. The objective is not maximum warmth at all times; it is staying dry enough to remain functional when activity stops.
- Moisture-managing base layer
- Breathable active insulation or midlayer
- Packable insulation for stationary glassing
- Wind and rain protection suitable for the forecast and exposure
- Gloves, warm hat and sun hat
- Season-appropriate orange or other legally required visibility clothing
Regulations differ by state, species and season. Confirm hunter-orange and other clothing requirements on the responsible wildlife agency’s current page before leaving home.
Use the western hunting layering system guide to assign each clothing layer a job, reduce redundant pieces and run a controlled field test before the hunt.
4. Navigation, power and communication
The National Park Service includes navigation and illumination among its Ten Essentials and recommends a physical map as a backup. A phone mapping app can be extremely useful, but it should not be the only layer in the plan.
- Downloaded offline maps and current land-ownership layers
- Paper map and compass, with practiced skills
- GPS or satellite communicator when appropriate
- Headlamp plus spare batteries or a second light
- Protected charging cable and power bank sized for the trip
- Written trip plan left with a reliable contact
Test offline layers in airplane mode. Confirm that emergency contacts know where you parked, your intended route, when you expect to return and what to do if you miss the check-in.
5. Optics and glassing support
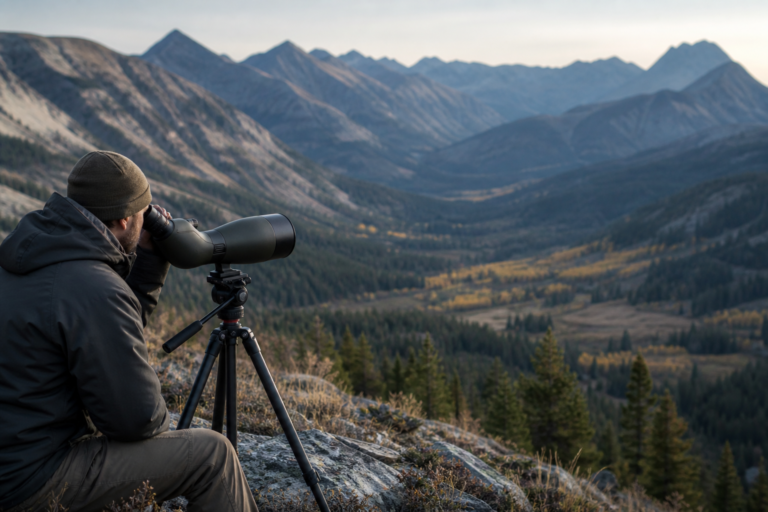
Optics should match the country and hunting method. Binoculars are the core tool for most western hunts; a spotting scope becomes more useful where long observation distances justify its weight. Image stability can matter as much as nominal magnification.
- Binoculars with a secure harness
- Lens cloth and weather protection
- Tripod and adapter when prolonged glassing is expected
- Optional spotting scope based on terrain and decision distance
- Compact sitting pad for cold or wet ground
Do not select optics by a single specification. Field of view, low-light performance, eye relief, focus control, tripod compatibility, weight and warranty all affect the real decision.
Use the western hunting binoculars guide to compare magnification, objective size, user fit, stability and low-light tradeoffs without relying on one specification.
For the rest of the glassing setup, use our spotting-scope guide and hunting tripod guide to compare the complete system.
6. Shelter and sleep system
For overnight hunts, the shelter, sleeping bag or quilt, pad and sleep clothing work together. Temperature ratings are not guarantees; personal metabolism, wind, humidity, elevation, pad insulation and whether clothing is dry all change comfort.
- Shelter appropriate for expected wind, precipitation and campsite exposure
- Sleep insulation with a conservative margin
- Insulated pad and field repair kit
- Dedicated dry sleep layer
- Emergency shelter even on day hunts
Use the backcountry hunting sleep-system guide to compare shelter loads, pad R-values, bag ratings, moisture control and field-repair planning as one connected system.
7. Water, treatment and food
Carry enough water to reach a verified source, and carry a treatment method appropriate to local risks. Capacity should reflect dry stretches, elevation, temperature and the effort of a possible pack-out. A backup treatment method is reasonable when failure would leave you far from safe water.
- Water containers sized for the route
- Filter, purifier or chemical treatment appropriate to the source
- Backup treatment option
- Food that remains usable in cold, heat and exertion
- Electrolyte plan based on personal needs, not marketing claims
Use our backcountry water-treatment guide to work through treatment options, capacity and backup planning.
8. Safety, first aid, fire and repair
The NPS Ten Essentials framework also includes sun protection, extra clothing, first aid, fire, tools, extra food, water treatment and emergency shelter. A first-aid kit is only as useful as the skills behind it, so training belongs in the system too.
- First-aid kit tailored to group size, duration and remoteness
- Fire-starting method plus protected backup, subject to current fire restrictions
- Knife or multitool and equipment-specific repair supplies
- Sun protection and eye protection
- Emergency signaling equipment
- Required medications and personal medical supplies
At altitude, fitness does not eliminate altitude-illness risk. The CDC advises gradual acclimatization and warns against going too high too fast; symptoms can require stopping ascent or descending. Review the CDC’s current high-altitude guidance and discuss personal risks with a medical professional.
9. Kill kit and meat-care system
A recovery kit should be planned before the shot. The goal is to work safely, keep edible meat clean and cool it as conditions allow while following state rules for evidence of sex, carcass transport and chronic wasting disease.
- Sharp knife and a safe sharpening method
- Disposable gloves
- Breathable game bags sized for the animal
- Flagging or reflective markers where legal
- Durable cord and clean barrier for setting meat down
- Headlamp and backup light
- Cooler, ice and transport plan staged before the hunt
Colorado Parks and Wildlife’s game-meat handling guidance recommends protective gloves and careful cleaning of hands and tools. CWD precautions and transport restrictions vary, so always use the current rules for both the harvest state and destination.
Work through the equipment and recovery checklist in our big-game meat-care kit guide alongside the current rules for your hunt.
10. Bear-country storage and campsite discipline
Food, trash, scented items and harvested game can all attract bears. Storage requirements can differ by forest, district and temporary order. The U.S. Forest Service advises visitors to check the rules for the exact area and use required bear-resistant storage where applicable. Build the storage method into the pack and recovery plan rather than improvising at camp.
A practical buying order
If you are starting from zero, prioritize items by consequence of failure and frequency of use:
- Fit-dependent foundations: boots, socks and a properly fitted pack.
- Navigation and emergency essentials: maps, light, first aid, communication and shelter.
- Weather protection: reliable layers and rain/wind protection.
- Water and sleep systems: matched to the trip format.
- Core optics: binoculars first for most hunters, then supports and specialized glass.
- Recovery equipment: purchased and rehearsed before hunting.
- Refinements: lighter, quieter or more specialized replacements only after experience reveals the real problem.
Pre-hunt systems check
| System | Test before departure |
|---|---|
| Pack | Climb and descend with the planned load; confirm no slipping or pressure points. |
| Boots | Complete several long walks on comparable terrain; treat hot spots immediately. |
| Navigation | Open maps in airplane mode; verify backup map, compass and power. |
| Shelter | Pitch it in wind or rain; confirm every stake, pole and repair item. |
| Water | Treat water with the exact kit; check flow, seals and capacity. |
| Optics | Adjust harness, focus, tripod and adapter while wearing hunt clothing. |
| Recovery | Assign roles, estimate trips, stage coolers and confirm current transport rules. |
| Emergency | Send a test message, review the trip plan and define missed-check-in actions. |
The bottom line
The best gear list is not the longest or most expensive. It is the lightest complete system you have tested for the specific hunt, with deliberate backups where a single failure could become dangerous. Build from the hunt backward, train with the finished load, and verify regulations and land-agency notices immediately before the trip.
Continue planning with our Gear hub, Maps & Apps resources and Hunt Planning guides. See our Editorial Policy and Review Methodology for how we separate research, product specifications and hands-on experience.