How to Build a Hunt-Specific Gear System
Research transparency: This big-game hunting gear list is a source-based planning framework, not a firsthand field-test report or a list of paid product recommendations. It uses official outdoor-safety guidance and a conservative systems approach. Regulations, access, weather and individual needs vary; verify current requirements and test your complete setup under controlled conditions before relying on it remotely.
Most big-game gear lists fail for the same reason: they begin with products instead of the hunt.
A September pronghorn day hunt from a truck, a late-season elk hunt from a wall tent, and a five-day backpack mule deer hunt do not need the same pack. The useful question is not, “What does everyone carry?” It is, “What must this system do on this hunt, and what happens if part of it fails?”
This method builds a gear list from the conditions backward. It does not prescribe a universal pack weight or tell you to buy a particular brand. It gives you a repeatable way to decide what is required, what is optional, what deserves redundancy, and what must be tested before opening morning.
The short version
- Write a one-paragraph hunt profile.
- Build the list by function, not by product category.
- Rate the consequence of each item failing or being missing.
- Weigh the entire carried system, including consumables.
- Test it under realistic conditions and revise the list.
1. Write the hunt profile first
Before opening a gear spreadsheet, define the trip. A clear hunt profile prevents equipment from drifting onto the list simply because it worked somewhere else.
- Species and legal method: rifle, muzzleloader, archery, or another permitted method.
- Season and location: expected temperatures, precipitation, daylight, elevation, vegetation, and fire restrictions.
- Access: vehicle-based, horse-supported, boat access, day hunting from camp, or backpack travel.
- Duration: planned days plus a realistic delay margin.
- Distance from help: travel time to a road, medical care, resupply, or reliable communication.
- Water: known sources, seasonal uncertainty, treatment plan, and required carrying capacity.
- Group: solo or partnered, with shared equipment assigned to a specific person.
- Pack-out: likely load, number of trips, temperature, terrain, and meat-care plan.
Regulations belong in this first step. Clothing requirements, legal equipment, carcass evidence, tagging, fire rules, access restrictions, and food-storage orders vary by location and season. Use the current regulation source from the responsible wildlife and land-management agencies; do not rely on last year’s memory or a social post.
2. Build the list by function
A functional list is easier to audit than a pile of brand names. Begin with the job that must be done, then select the lightest reliable solution you already know how to use.
Safety and survival baseline
The National Park Service organizes its Ten Essentials as systems: navigation, sun protection, insulation, illumination, first aid, fire, repair tools, nutrition, hydration, and emergency shelter. That is a sound baseline for remote hunting, but it is a starting point—not a complete hunting list.
Scale each system to the actual consequences of the trip. A headlamp for an afternoon near the truck is different from the lighting system needed to break down an elk after dark. Emergency shelter for a warm desert day is different from shelter above timberline during a shoulder-season storm.
Hunt-specific systems
- Legal and identification: license, tags, permits, identification, and regulation copy.
- Weapon system: legal equipment, ammunition or arrows, protective case where needed, and field maintenance items.
- Optics: binocular, rangefinder, spotting scope, tripod, or only the pieces the terrain truly justifies.
- Navigation and communication: primary map method, independent backup, power, emergency communication, and a trip plan left with someone at home.
- Clothing: layers selected for activity level, moisture, wind, temperature swing, visibility requirements, and time spent stationary.
- Shelter and sleep: protection appropriate to the worst credible conditions, not merely the forecast average.
- Food and water: daily consumption, treatment, carrying capacity, no-cook reserve, and any local storage requirements.
- Kill kit and meat care: cutting tools, gloves, bags, cordage, marking supplies, cooling plan, and pack-out capacity.
- Medical and repair: personal medication, first aid matched to training, and repairs for failures that would stop the hunt.
Write the function before the item. “Keep hands working during cold glassing sessions” leads to a better decision than “bring gloves.” “Navigate back to camp after a dead battery” exposes the need for an independent backup.
3. Rate the consequence of failure
Weight alone is a poor way to decide what stays. A two-ounce item that solves a life-safety problem can be more important than a two-pound comfort item, while a heavy piece of duplicate equipment may contribute little.
| Rating | If it fails or is missing | Response |
|---|---|---|
| Critical | Creates a serious safety, legal, navigation, or meat-loss risk | Use a proven item; consider an independent backup |
| Mission | Could end the hunt or remove a core capability | Test thoroughly; carry repair capability when practical |
| Efficiency | Costs time, energy, or opportunity | Keep only when the benefit justifies weight and complexity |
| Comfort | Makes the trip less pleasant but remains manageable | Choose deliberately after the required system is complete |
This rating also clarifies redundancy. Two ways to make light, navigate, or communicate may be justified when one failure has severe consequences. Two nearly identical comfort items usually are not.
4. Weigh the whole carried system
Use a scale. Manufacturer specifications are helpful for comparison, but the field weight includes batteries, straps, covers, ammunition, water, food, fuel, and the small items that accumulate in pockets.
- Base gear: pack, shelter, sleep system, clothing carried, optics, navigation, first aid, repair, and kill kit.
- Consumables: food, water, fuel, ammunition, and other items that change during the trip.
- Worn or carried: clothing, boots, weapon, binocular harness, and pocket contents.
- Shared gear: every shared item assigned to one hunter rather than counted vaguely as “group gear.”
- Pack-out capability: the pack and accessories must still function when the load changes from hunting weight to meat-hauling weight.
Do not chase an arbitrary internet number. The correct target is a complete system you can carry safely through the expected terrain while preserving enough capacity for the hunt and pack-out. The loaded-pack test is more honest than the spreadsheet total.
5. Test the system before the season
The NPS recommends checking equipment, practicing with it, and carrying a fully loaded pack before a backcountry trip in its camping preparation guidance. For hunters, testing should include the work that happens after leaving the trail.
Run four shakedowns
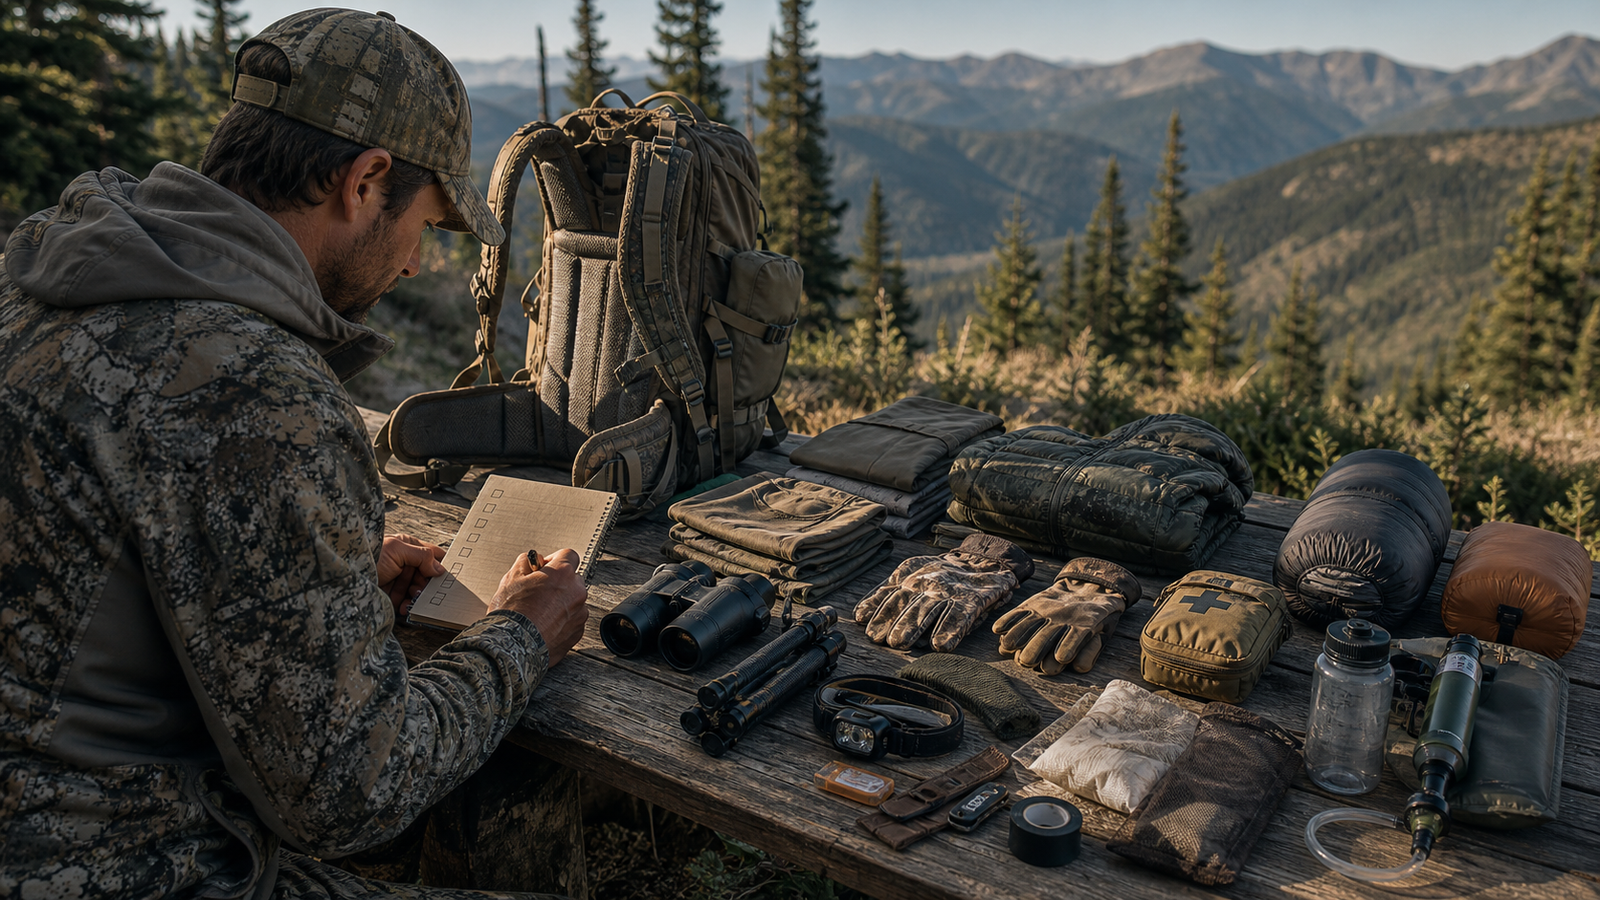
- Tabletop audit: lay out everything, group it by function, weigh it, and remove unexplained duplicates.
- Loaded-pack hike: use the planned footwear and full field weight on comparable elevation and terrain.
- Overnight test: establish shelter, treat water, cook, manage clothing, charge devices, and repack in the dark.
- Bad-condition test: practice safely in wind, rain, cold, or low light instead of assuming the system works outside fair weather.
Also rehearse the hunting-specific tasks: access a headlamp without emptying the pack, range and glass with gloves, locate a license, start emergency communication, perform basic equipment repairs, and organize the kill kit. If an item is essential but unfamiliar, training is part of the gear system.
Weather belongs in the test plan. The National Weather Service advises checking the forecast before outdoor travel and emphasizes that a tent is not safe shelter from lightning. Its outdoor lightning guidance recommends planning around local storm patterns and leaving exposed terrain early. Its cold-weather guidance explains the risks of frostbite and hypothermia. Gear can reduce exposure, but the trip plan and the decision to turn around remain part of the safety system.
6. Leave a hunting plan
A satellite device is useful, but it does not replace a plan held by a responsible person. The Idaho Department of Fish and Game hunting-plan form includes the members of the party, medical considerations, destination, route, departure and return times, alternate route, radio information, and vehicle description. Use that as a model and adapt it to the hunt.
The person holding the plan needs a clear overdue time and instructions for whom to contact. If the trip changes and it is not an emergency, update that person when communication is available.
7. Perform the final 48-hour audit
- Recheck current regulations, closures, fire restrictions, access, and weather.
- Confirm licenses, tags, identification, and any required evidence or marking tools.
- Inspect batteries, download offline maps, and verify charging cables and backup power.
- Check the weapon system and carry only legal equipment for the season.
- Confirm water sources and carrying capacity.
- Review the pack-out and meat-cooling plan against the forecast.
- Send the hunting plan and verify the overdue procedure.
- Remove anything that still has no defined job.
A simple gear-list template
Use one row per item. The “why” and “test” columns matter more than the brand column.
| System | Item | Weight | Failure rating | Why it is included | Field test completed |
|---|---|---|---|---|---|
| Navigation | |||||
| Clothing | |||||
| Shelter | |||||
| Water | |||||
| Kill kit |
The finished list should be specific enough that another member of the hunting party can understand the system, identify missing responsibilities, and see what has actually been tested.
Build each system with the right guide
Once the hunt profile is written, use these verified Big Game Ledger guides to complete each part of the system:
- Start with the Big-Game Hunt Planning Checklist, then compare the result against the Western Big-Game Hunting Gear Checklist.
- Match carrying and movement systems with the hunting backpack guide and hunting boot guide.
- Build only the optics the terrain supports: binoculars, rangefinders, spotting scopes and tripods.
- Prepare for exposure with the western hunting layering system and backcountry hunting sleep-system guide.
- Complete hydration and recovery planning with the backcountry water-treatment guide and big-game meat-care kit.
- Return to the Gear hub as new research guides are published.
The standard for a useful list
A credible gear list should explain the hunt, the job each item performs, the consequence of failure, and the evidence behind the choice. It should distinguish field experience from first impressions and disclose financial relationships when recommendations include affiliate links. Read the Big Game Ledger Affiliate Disclosure for how those relationships are handled.
Start with the conditions. Build by function. Test the complete system. Then revise it after the hunt while the small failures and unnecessary items are still fresh.
Source review: National Park Service Ten Essentials and camping-preparation guidance; National Weather Service outdoor-lightning and cold-weather safety guidance; and Idaho Department of Fish and Game hunting-plan guidance. Links and cited statements reviewed August 20, 2026. Always use current wildlife regulations and local land-manager instructions for the exact hunt.